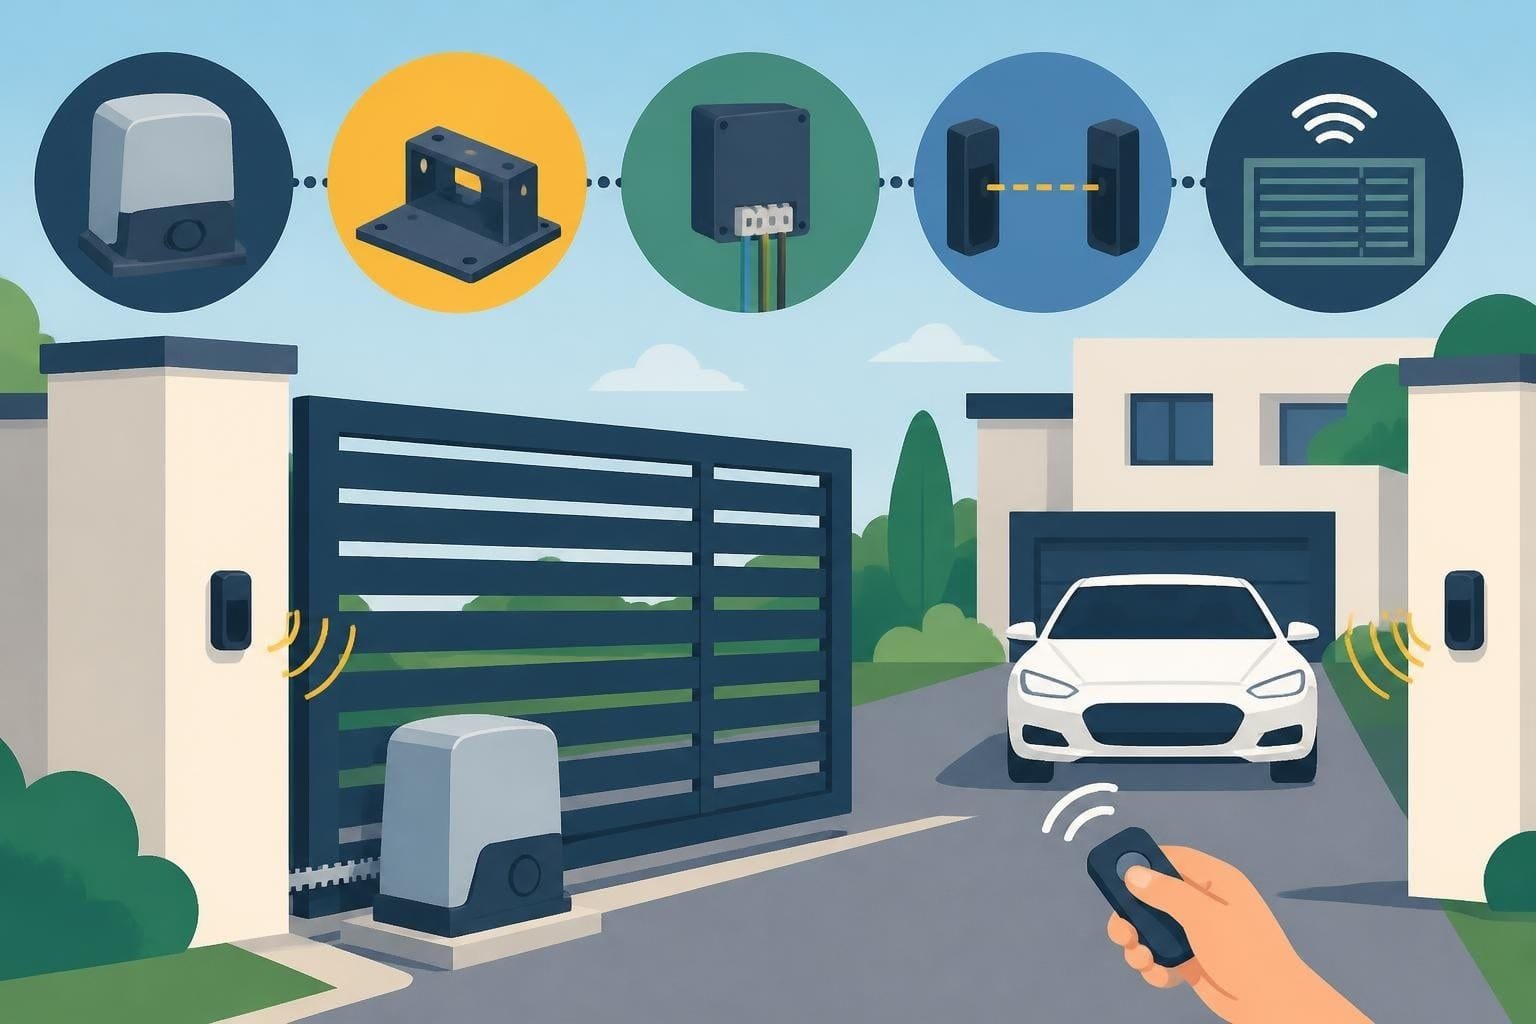

Installing an automatic gate motor transforms property access from manual labor into seamless automation, enhancing both convenience and security. Whether upgrading an existing manual gate or integrating automation into new construction, proper gate motor installation requires careful planning, adherence to safety standards, and technical expertise. This comprehensive guide walks through every critical aspect of the installation process, from initial assessment and equipment selection to final testing and compliance verification.
Understanding Gate Motor Types and Applications
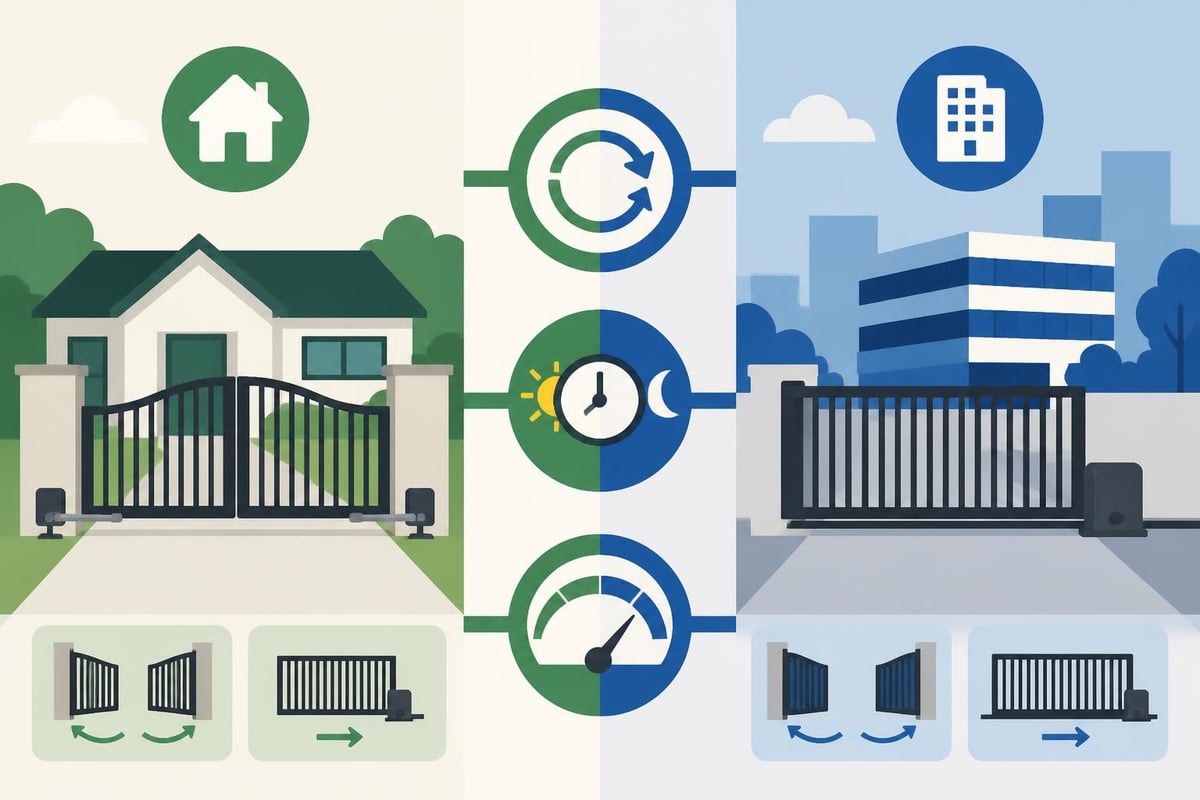
The foundation of successful gate motor installation begins with selecting the appropriate operator for your specific application. Three primary motor types dominate the residential and commercial markets: swing gate operators, slide gate operators, and barrier arm operators.
Swing gate operators function like door closers, using articulated arms or hydraulic rams to push gates open and pull them closed. These systems work best for properties with sufficient clearance perpendicular to the fence line and are ideal for both single and double gate configurations.
Slide gate operators move gates horizontally along a track, making them perfect for properties with limited swing clearance or sloped driveways. These motors mount on the gate itself or on a ground-level track system, requiring careful alignment during installation.
Barrier arm operators serve primarily commercial applications like parking lots and gated communities, raising and lowering striped arms to control vehicle access.
Weight Capacity and Duty Cycle Considerations
Every gate motor carries specific weight and usage ratings that directly impact long-term performance and safety.
| Motor Type | Typical Weight Capacity | Residential Duty Cycle | Commercial Duty Cycle |
|---|---|---|---|
| Light-duty swing | Up to 400 lbs | 20-30 cycles/day | Not recommended |
| Medium-duty swing | 400-800 lbs | 50-75 cycles/day | 100-150 cycles/day |
| Heavy-duty swing | 800-2000 lbs | Unlimited | 300+ cycles/day |
| Slide gate operators | 1000-5000 lbs | 50-100 cycles/day | 200-400 cycles/day |
Exceeding these specifications accelerates wear, increases maintenance requirements, and creates safety hazards. Property owners must assess anticipated traffic volume honestly before selecting equipment.
Pre-Installation Assessment and Planning
Professional gate motor installation begins long before mounting the first bracket. A thorough site assessment identifies potential obstacles, electrical requirements, and compliance considerations that shape the entire project.
Site Survey Essentials
Walk the installation area and document these critical factors:
- Gate dimensions and weight: Measure height, width, and panel thickness. Weigh the gate or calculate weight based on materials (wood gates typically weigh 1.5-2 lbs per square foot; steel gates 3-5 lbs per square foot).
- Swing or slide clearance: Verify adequate space for gate travel without obstructions from landscaping, vehicles, or structures.
- Ground conditions: Assess concrete pad quality, drainage patterns, and soil stability for motor mounting.
- Power source proximity: Locate the nearest electrical service and plan conduit runs.
- Slope and grade: Document any incline along the gate path, as slopes increase motor load.
The ASTM F2200 standard provides detailed specifications for automated vehicular gate construction that inform proper installation practices and structural requirements.
Electrical Planning and Code Compliance
Gate motor installation demands careful electrical planning to ensure safe, reliable operation. Most residential operators require dedicated 120V circuits, while commercial applications often need 240V service for heavy-duty motors.
Modern installations must comply with UL 325 safety standards, which govern operator design, entrapment protection, and monitoring requirements. These standards have evolved significantly, with recent federal incorporation strengthening enforcement of safety provisions.
Work with licensed electricians familiar with gate automation to ensure proper circuit sizing, ground-fault protection, and conduit installation that meets local electrical codes and manufacturer specifications.
Equipment Selection and Procurement
Choosing quality components prevents premature failures and reduces long-term maintenance costs. A complete gate motor installation package includes several interdependent systems.
Core Components Checklist
- Gate operator motor and control board
- Mounting brackets and hardware
- Safety sensors (photo-eyes and edge sensors)
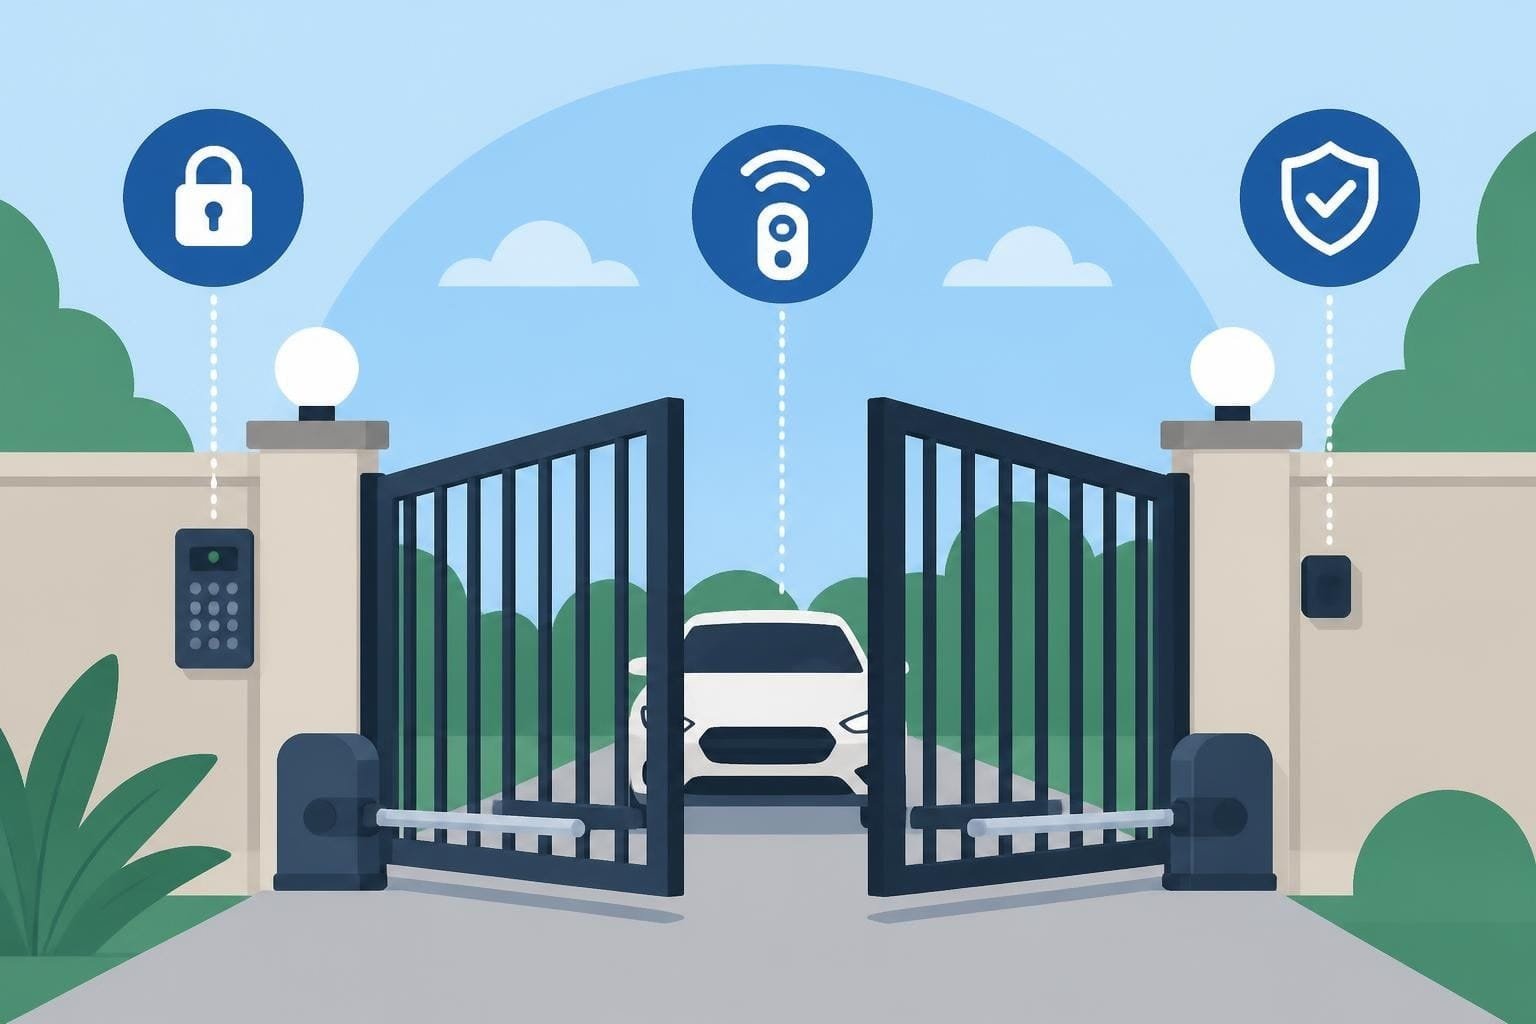
- Access control devices (keypads, card readers, remote controls)
- Battery backup system (recommended for all installations)
- Warning signs and reflective striping
- Conduit, wire, and electrical boxes
Battery backup deserves special attention. Power outages shouldn't trap residents or create security vulnerabilities. Quality backup systems provide 12-24 hours of operation and automatically recharge when power returns.
Selecting Appropriate Safety Devices
UL 325 requirements mandate specific entrapment protection for vehicular gates. These aren't optional accessories but legal requirements for compliant installation.
Photo-eye sensors create an invisible beam across the gate path. When interrupted, they immediately stop and reverse gate movement, preventing contact with vehicles, pedestrians, or pets.
Edge sensors mount along gate leading edges, detecting physical contact and triggering instant reversal. These provide secondary protection when photo-eye alignment fails or objects approach from unexpected angles.
The DASMA gate-opener guidelines offer detailed recommendations for sensor placement and adjustment that supplement manufacturer instructions.
Step-by-Step Installation Process
Proper gate motor installation follows a methodical sequence that ensures structural integrity, operational reliability, and safety compliance.
Foundation and Mounting Preparation
For swing gate operators:
- Position the motor mounting pad perpendicular to the gate, at the manufacturer's specified distance from the hinge post
- Pour a concrete pad minimum 12 inches deep (frost depth varies by region)
- Set anchor bolts or mounting plates level and plumb while concrete cures
- Allow 48-72 hours curing time before mounting equipment
- Attach motor to cured pad using manufacturer-supplied hardware
For slide gate operators:
- Install steel track along the entire gate travel path, ensuring perfectly level alignment
- Pour concrete foundation for motor mount at the fully-closed gate position
- Weld or bolt catch plate to gate frame for magnetic or mechanical stops
- Mount motor assembly perpendicular to gate travel
- Install roller guides top and bottom to prevent gate sway
Electrical Connections and Control Integration
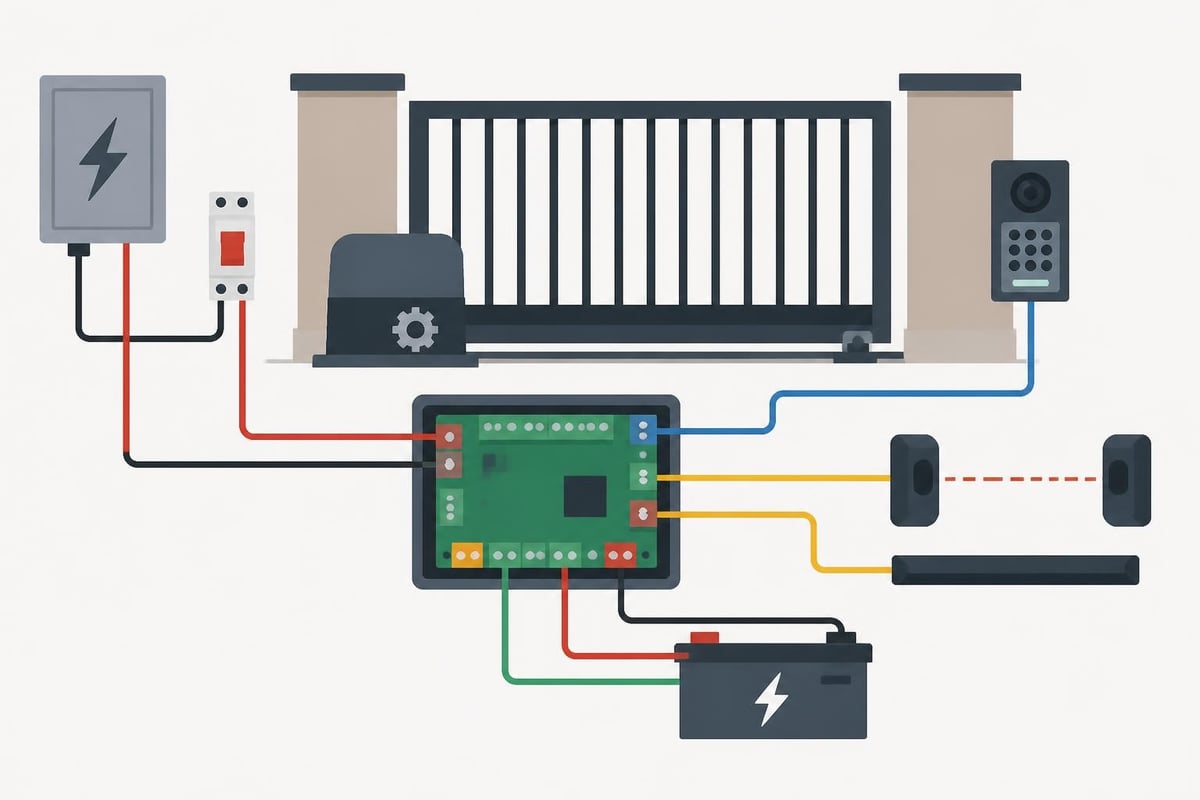
Licensed electricians should handle all line-voltage work, but understanding the connection sequence helps coordinate the installation:
- Run conduit from electrical service to operator location and all accessory positions
- Pull appropriate gauge wire (typically 14 AWG for 120V, 12 AWG for 240V main power)
- Install 18-22 AWG low-voltage wire for sensors and access devices
- Connect main power to operator control board following color-coded terminals
- Wire safety sensors in series as required by UL 325
- Connect access control devices to designated control board terminals
- Install and connect battery backup system
Many modern control boards offer adjustable parameters for opening speed, closing speed, auto-close delay, and sensitivity. Conservative initial settings (slower speeds, higher sensitivity) enhance safety during testing and adjustment.
Safety Sensor Installation and Testing
Safety devices represent the most critical aspect of compliant gate motor installation. Improper placement or adjustment creates liability exposure and endangers property users.
Photo-Eye Placement Standards
DASMA technical guidance specifies photo-eye mounting heights and positions based on gate type and application. General recommendations include:
- Mount sensors 12-24 inches above ground level for vehicular gates
- Position sensors to create a beam across the full gate travel path
- Install sensors on rigid mounting posts, not gate panels
- Protect sensors from direct sunlight, which causes false triggers
- Ensure beam alignment remains stable through temperature changes
Test photo-eye function by interrupting the beam during gate operation. The gate should immediately stop and reverse. Test from multiple positions along the beam path.
Edge Sensor Configuration
Edge sensors mount directly to gate panels along potential contact surfaces. Pneumatic and optical edge sensors offer the highest reliability for gate motor installation applications.
Install edge sensors on:
- The leading edge of swing gates (the edge that closes against the latch post)
- Both vertical edges of slide gates
- The bottom edge when children or pets might crawl under closing gates
Adjust sensitivity so light contact triggers reversal without making the system overly sensitive to wind or normal vibration.
Access Control Integration
Gate automation provides little value without convenient, secure access control. Modern installations typically incorporate multiple access methods for flexibility and redundancy.
Common Access Control Options
| Access Method | Security Level | Convenience | Typical Cost |
|---|---|---|---|
| Wireless remote | Medium | High | $25-$75 each |
| Keypad entry | Medium-High | Medium | $150-$400 |
| Card/fob reader | High | High | $300-$800 |
| Smartphone app | High | Very High | $200-$600 |
| Vehicle loop detector | Low | Very High | $400-$1200 |
| Intercom system | High | Medium | $800-$3000 |
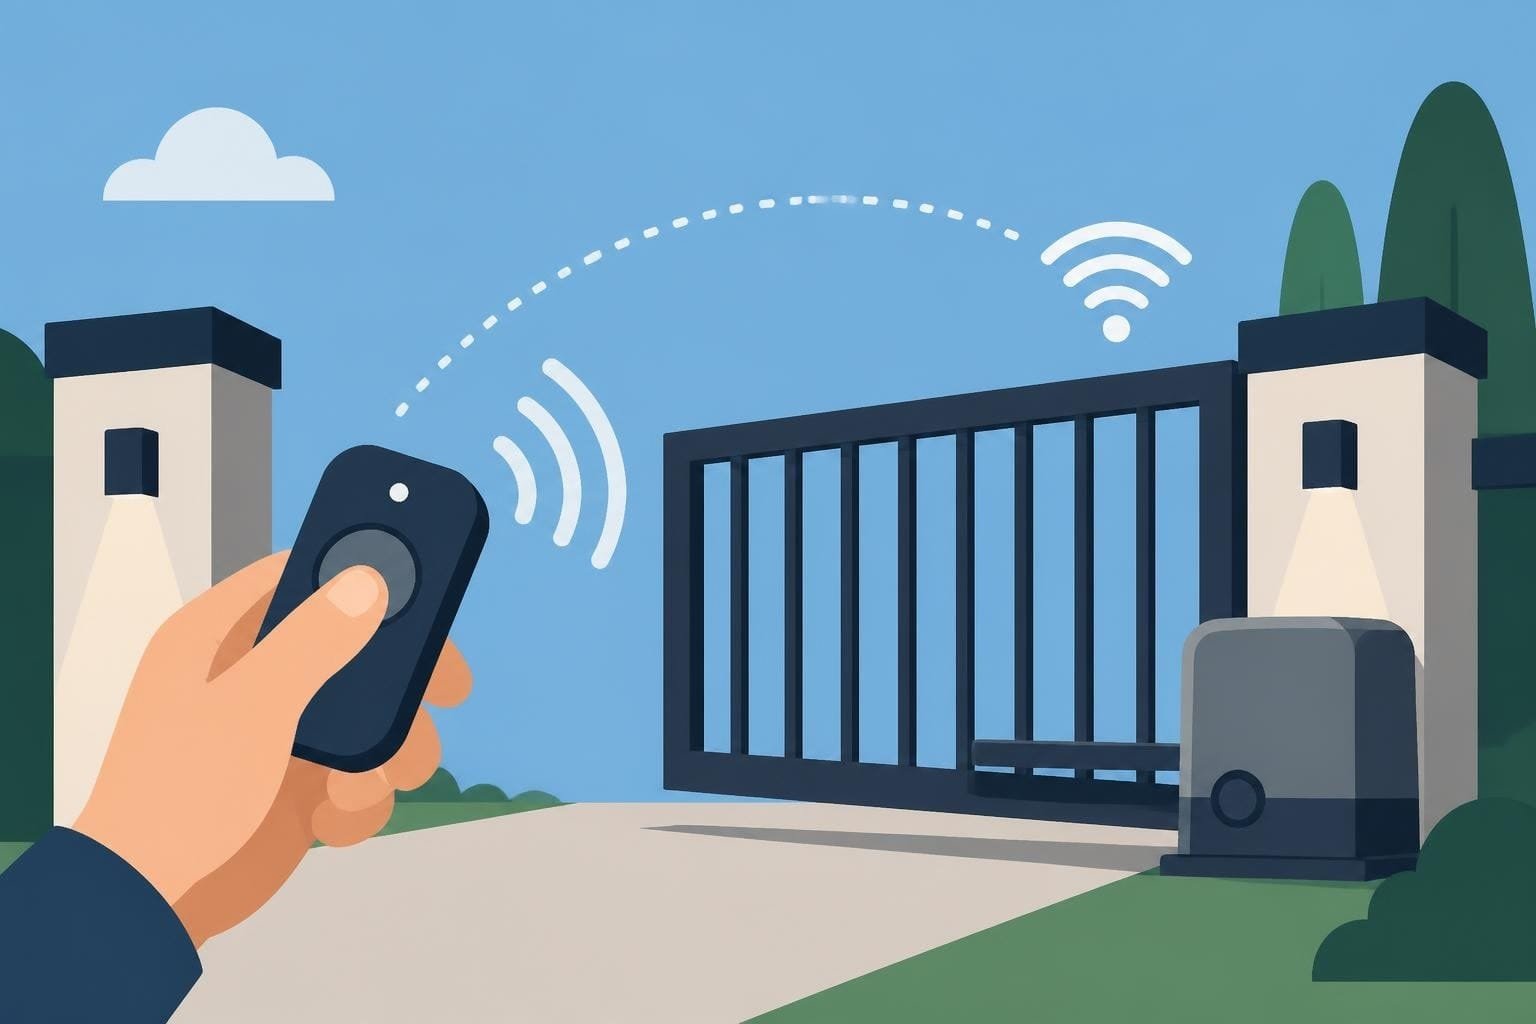
Professional installations often combine multiple methods. For example, residents receive wireless remotes for daily use, guests use keypad entry with temporary codes, and delivery drivers trigger exit via vehicle loop detectors.
Many Los Angeles properties benefit from smartphone integration, allowing property owners to grant access remotely and monitor gate activity through mobile apps. For ongoing maintenance and expert support for your automated system, professional gate repair services ensure long-term reliability and safety compliance.
Testing and Commissioning Procedures
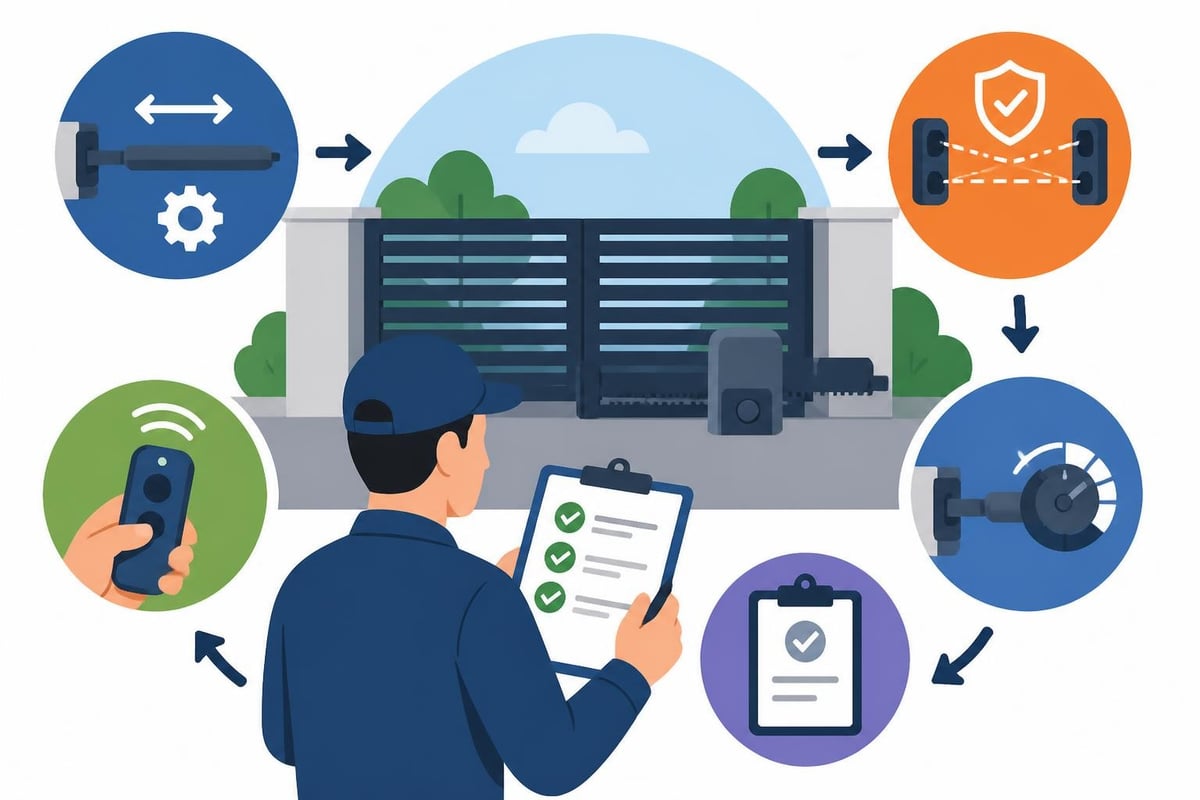
Thorough testing validates every aspect of gate motor installation before releasing the system for regular use. This process protects both installers and property owners from liability while ensuring optimal performance.
Operational Testing Sequence
- Manual operation test: Disconnect motor and verify gate moves smoothly through full travel without binding or resistance
- Motor operation test: Reconnect motor and cycle gate through 10-15 complete open/close sequences without access control
- Speed adjustment: Fine-tune opening and closing speeds for smooth, quiet operation
- Auto-close timing: Set appropriate delay (typically 30-90 seconds for residential gates)
- Force adjustment: Set closing force to reverse upon encountering 15-20 lbs resistance
- Access control verification: Test each access method (remotes, keypads, loops) through multiple cycles
- Safety sensor validation: Interrupt photo-eyes and trigger edge sensors at multiple points during travel
- Emergency release: Verify manual release mechanism operates smoothly for power-failure situations
- Battery backup: Simulate power outage and confirm gate operates on backup power
Document all test results and settings for future reference and troubleshooting.
Compliance Documentation and Signage
The 2024 International Residential Code and local building codes require specific documentation and warnings for automated gate installations.
Required Warning Signs and Markings
Post clearly visible warning signs on both sides of automated gates:
- "CAUTION – AUTOMATIC GATE" or "WARNING – AUTOMATED GATE" in letters minimum 2 inches high
- "KEEP CLEAR" markings in gate travel zones
- Reflective striping on gate panels for nighttime visibility
- Emergency contact information for after-hours gate problems
These aren't merely suggestions. Property owners face liability when inadequate warnings contribute to gate-related injuries.
Installation Documentation
Create a comprehensive installation package including:
- Equipment specifications and serial numbers
- Electrical diagrams and circuit information
- Control board settings and adjustments
- Test results and commissioning data
- Warranty information and service contacts
- Maintenance schedule and procedures
Provide copies to property owners and retain copies for service records. This documentation proves invaluable for troubleshooting, maintenance, and future modifications.
Maintenance Planning and Owner Education
Even perfectly executed gate motor installation requires ongoing maintenance to sustain performance and safety. Educate property owners about their responsibilities and recommended service intervals.
Essential Maintenance Tasks
Monthly owner inspections:
- Test all access control methods
- Verify photo-eye and edge sensor function
- Listen for unusual noises during operation
- Observe gate travel for smooth, consistent movement
- Check battery backup operation
Quarterly professional service:
- Lubricate hinges, rollers, and moving parts
- Inspect and adjust chain or belt tension
- Verify electrical connections remain tight and corrosion-free
- Test and adjust force settings
- Clean photo-eye lenses and check alignment
- Inspect gate structural integrity and hardware
Annual comprehensive inspection:
- Complete safety system validation per UL 325 requirements
- Document all adjustments and findings
- Update software/firmware on smart controllers
- Replace batteries in backup systems
- Review access codes and update as needed
Regular maintenance extends equipment life, prevents emergency failures, and ensures continued compliance with safety standards. The recent federal incorporation of UL 325 revisions emphasizes the importance of ongoing compliance verification.
Common Installation Challenges and Solutions
Even experienced professionals encounter obstacles during gate motor installation. Recognizing these challenges early prevents costly rework and project delays.
Addressing Typical Installation Issues
Insufficient gate clearance: Gates that contact obstacles during travel require modifications. Solutions include trimming gate panels, relocating obstructions, or adjusting mounting positions to alter swing radius or slide path.
Inadequate power supply: Older properties may lack electrical capacity for gate automation. Install dedicated circuits with appropriate amperage ratings, and consider solar-powered systems for remote gate locations.
Uneven ground or slopes: Gates on sloped driveways experience additional stress. Specify motors with higher duty ratings, install guide wheels to reduce binding, and adjust force settings to compensate for gravity assistance or resistance.
Interference between automation components: Photo-eye beams, loop detectors, and wireless controls can interfere with each other or nearby systems. Careful placement and frequency coordination prevent these conflicts.
Weather exposure: Los Angeles installations face intense sun, occasional heavy rain, and temperature fluctuations. Select weather-rated equipment, install sun shields for sensors, and ensure proper drainage around motor locations.
Advanced Features and Smart Integration
Modern gate motor installation extends beyond basic automation. Smart technology integration adds convenience, security monitoring, and remote management capabilities.
Contemporary Smart Gate Features
Cloud-based access management allows property owners to grant, modify, or revoke access permissions from anywhere via smartphone apps. This feature particularly benefits rental properties, vacation homes, and small businesses.
Activity logging and alerts provide real-time notifications when gates operate, enabling security monitoring and tracking authorized/unauthorized access attempts.
Video integration combines gate automation with security cameras, automatically recording video when gates activate or access attempts occur.
Voice assistant compatibility enables hands-free gate control through Amazon Alexa, Google Assistant, or Apple HomeKit voice commands.
Scheduled access windows automatically enable or disable gate operation during specific times, useful for service providers, delivery schedules, or securing properties overnight.
These advanced features require compatible control boards, stable network connectivity, and proper configuration during installation. While they increase project complexity, smart features significantly enhance property value and user satisfaction.
Professional Installation Versus DIY Considerations
Gate motor installation complexity varies dramatically based on project scope, equipment selection, and site conditions. Understanding when professional expertise becomes essential protects investments and ensures safety compliance.
When to Hire Professionals
Complex installations benefit from professional expertise:
- Commercial applications requiring heavy-duty equipment
- Gates exceeding 500 lbs or 10 feet in width
- Installations requiring electrical service upgrades
- Projects involving extensive access control integration
- Historic or architecturally significant properties
- Locations with challenging terrain or limited access
Professional installers bring specialized tools, technical knowledge, and insurance coverage that DIY installations lack. They understand safety standards and compliance requirements that protect property owners from liability.
DIY Installation Realistic Expectations
Homeowners with electrical experience and mechanical aptitude can successfully tackle simple swing gate installations on level ground with lightweight gates. Realistic DIY projects typically involve:
- Pre-engineered kit systems with comprehensive instructions
- Gates under 300 lbs on level, stable ground
- Existing electrical service within 25 feet of motor location
- Standard access control (wireless remotes and simple keypads)
Even DIY installations require electrical permit inspection and must meet all UL 325 safety requirements. Cutting corners on safety devices or compliance documentation creates serious liability risks that far exceed professional installation costs.
Successful gate motor installation combines technical expertise, quality equipment, and unwavering attention to safety standards. Property owners who invest in proper planning, compliant installation, and regular maintenance enjoy decades of reliable automated access with minimal issues. When you need expert guidance or professional installation services in the Los Angeles area, Gates & Garage Door Express Inc. delivers the family-owned reliability and technical excellence your property deserves, with same-day emergency services and a commitment to quality that ensures your automated gate operates safely and efficiently for years to come.